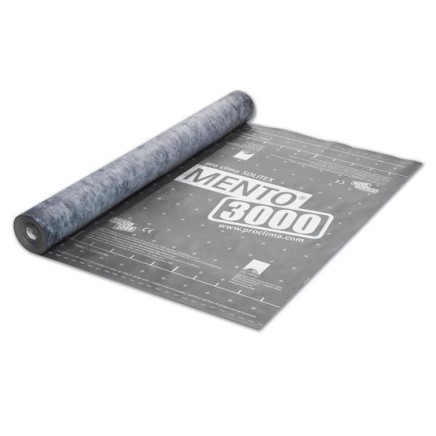
pro clima SOLITEX MENTO 3000
Medium-weight underroof membrane, aging-resistant, with moisture regulation for a healthy roof
Product benefits
The text on this page was automatically translated. Minor translation errors are possible. In case of doubt, the original versions (Dutch and French) are correct.
- Provides maximum protection against (driving) rain, wind, and hail
- Optimal protection against construction damage and mold - highly vapor-open TEEE membrane (without pores) actively transports moisture outwards
- Tested and approved - still reliable years later thanks to very high UV and aging resistance and thermal stability
- Reliability objectively documented in extensive technical data sheet
Installer benefits
- Fully weather-resistant for 4 months for flexible work planning
- Use in winter and rain - anti-slip surface
- Bonding with connect strip also possible in moist conditions
- Pleasant to work with - sturdy, non-reflective membrane
Applications
Suitable as a vapor-open underlay membrane on a rafter structure, boarding, wood fiber underlay boards, and all insulation mats and boards. Can serve as temporary protection of the construction during the building phase.
Product details
Installation steps
Installation steps

1. Install the membrane
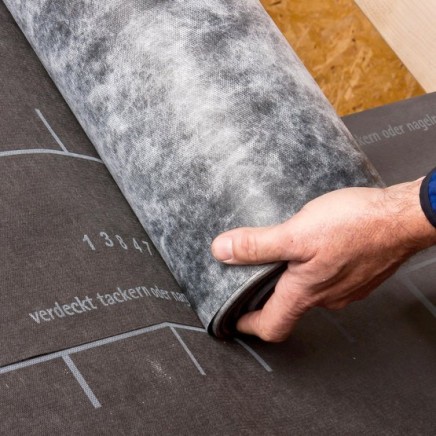
Roll out the membrane parallel to the eave and use galvanised staples that are at least 10 mm wide by 8 mm long to fasten the membrane in the overlap area in a manner that protects against moisture entry. Install the membrane leaving an additional 4 cm overlap at adjacent building structures so that an airtight bond can be applied here subsequently.

2. Overlap the membranes
Allow for an overlap of approx. 10 cm between the membranes. The marking that is printed onto the
membrane will serve as a guide here.

3. Tape the overlap
Clean the subsurface (dry and free of dust, silicone and grease) before taping; carry out an adhesion test, if necessary.
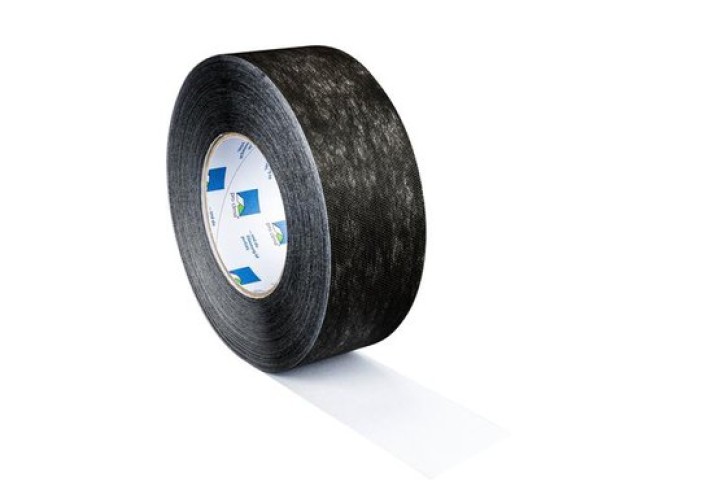
Centre the TESCON VANA system adhesive tape on the overlap and gradually stick it in place, ensuring that there are no folds or tension. Rub the tape firmly using the PRESSFIX to secure the adhesive bond. Ensure that there is sufficient resistance pressure.

4a. 'connect' adhesion
Sticking of membrane overlaps using 'connect' membranes with two integrated self-adhesive strips.

4b. 'connect' adhesion
Rub the resultant adhesive joint firmly using the PRESSFIX to secure the adhesive bond. Ensure that there is sufficient resistance pressure.

5a. Ridge / hip formation
In the case of fully insulated cross sections, place membranes over the ridge/hip and attach in place using staples in the area of the counter batten. Overlap relative to the membrane underneath of at least 10–15 cm.

5b. Ridge / hip formation
Then stick in an airtight manner using the TESCON VANA system adhesive tape. Alternatively, stick a wide strip of TESCON VANA onto the ridge. Rub the tape firmly using the PRESSFIX to secure the adhesive bond. Ensure that there is sufficient resistance pressure.

6. Sealing at eaves
Position the membrane on the eave flashing or eave strip and stick in place using the integrated self-adhesive strip (for 'connect' membranes), double-sided DUPLEX adhesive tape or single-sided TESCON VANA system adhesive tape, ensuring that there are no folds or creases.

7a. Sealing to rough or mineral subsurfaces
First create a smooth finish on rough wall caps. Clean the subsurface. Apply a line of ORCON F adhesive sealant with a thickness of at least 5 mm (more in the case of rough subsurfaces, if necessary).

7b. Sealing to rough or mineral subsurfaces
Apply the membrane, leaving slack to allow for expansion, and do not press the adhesive completely flat.

8. Sealing at skylights
MENTO membranes can be bonded to smooth surfaces such as skylights, chimneys, pipes and other roof elements using the TESCON PROFECT system adhesive tape.

9. Installation of a water deflector
Install a batten with a lateral fall above the integrated roof element and stick it to the membrane using TESCON VANA. Create the water deflector in such a way that moisture is guided by a continuous counter batten into the next adjacent field that does not have an integrated roof element.

10. Sealing nail perforations
When installing temporary covering, TESCON NAIDECK nail-sealing tape must be installed between the counter battens and the MENTO membrane in order to create a seal.
Retrofitting underlay from the inside

Installation principle
The ‘protruding lath’ forms a valley and drains any water that has entered to the middle of the area between the rafters (away from the rafters) and towards the eaves.

Battens
Affix a batten at the sides (min. height of 2 cm, e.g. 2.5 x 4). Screw a ‘protruding lath’ that is 1.5 - 2 cm thicker (e.g. 4 x 6) to the roof battens in the space between rafters.

Install the membrane
Install SOLITEX longitudinally or perpendicularly, proceeding in turn from one space between rafters to the next. Ensure that the overlaps are waterproof.

Fastening and water flow
Affix battens at the sides. Alternative: Use DASATOP FIX. Ensure drainage through the knee wall into the eave area.

You’re finished!
Completed underlay retrofitted from the inside.

Final steps
Install insulation in the space between the rafters. Install the airtightness layer, e.g. INTELLO, install inner cladding. You’re finished!
General conditions
SOLITEX MENTO membranes are to be installed with the printed side facing the installation technician. The membranes are to be installed as a roofing underlay membrane horizontally (parallel to the eave) in a taut manner with no sagging. Ensure that the subsurface is even when installing the membrane as a roofing underlay membrane. When the membrane is installed as a freely hanging underlay membrane, the rafter spacing is limited to 100 cm.
Fasteners may not be applied in areas where water runs off in a collected manner (e.g. in roof valleys).
Ridge ventilation should be provided in the case of non-insulated attics that have not been converted. To do so, install the SOLITEX membrane in such a way that it stops 5 cm before the ridge. In addition, permanent ventilation fittings should be provided in the unconverted attic. The membrane should be protected against the long-term impacts of UV radiation (e.g. by darkening windows).
The SOLITEX MENTO 3000 roofing underlay can be used as temporary covering for up to 4 months to protect the building structure during the construction phase in accordance with the regulations of the Central Association of the German Roofing Trade (ZVDH); in this case, the roof pitch must be at least 14°. Other national regulations may vary. The system products TESCON NAIDECK nail-sealing tape, ORCON F adhesive sealant and TESCON VANA are to be used for sealing of overlaps and joints. The connect variant has two self-adhesive strips for reliable external sealing. The specifications of the applicable national regulations are to be taken into account when carrying out installation and adhesion.
Under the regulations of the German Roofing Trade, these membranes are suitable as an additional measure for rain protection when installed as freely hanging underlay membranes with simple overlapping underneath roof tiles; when installed over timber sheathing as an underlay membrane with simple overlapping, SOLITEX MENTO membranes are also suitable as an additional measure for rain protection in the case of more demanding requirements.
| Reference Number | Attributes | DOP |
|---|---|---|
| 12900 | Dimensions: 1.50m x 50m, Version: standard | , |
| 12909 | Dimensions: 1.50m x 50m, Version: connect | |
| 14354 | Dimensions: 3.00m x 50m, Version: standard | |
| 15044 | Dimensions: 0.50m x 50m, Version: standard | |
| 16321 | Dimensions: 3.00m x 50m, Version: connect |

Celit 4D
Premium underroof and wall protection made from sustainable wood fiber

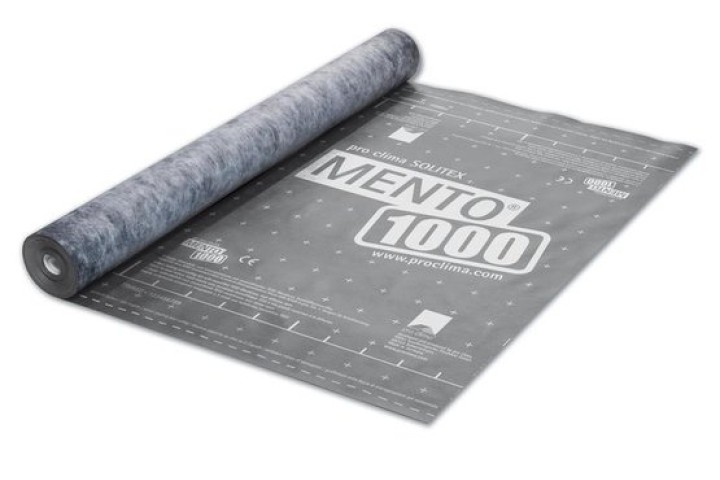
pro clima SOLITEX MENTO 1000
Light underlay membrane, aging-resistant, with moisture regulation for a healthy roof

pro clima SOLITEX MENTO PLUS
Reinforced underlay membrane for blow-in insulation, aging-resistant, with moisture regulation for a healthy
Related products

pro clima ORCON F
All-round connection glue for indoor and outdoor use

pro clima TESCON INVIS
All-round tape with fleece carrier, for indoor and outdoor use, black


