pro clima TESCON PROFECT
Tape voor hoeken, voor binnen en buiten
Product benefits
- Kleeft hoeken snel, eenvoudig en netjes
- Langdurig betrouwbare verkleving door vochtbestendige lijm
- Bespaart tijd: voorgevouwen band, eerste kleefvlak is onbedekt
- Eenvoudig te verwerken: zeer goed aansluitende vliesdrager
- Sneller verder werken: vliesdrager kan direct worden bepleisterd
- Past bij de bouwsituatie: verkrijgbaar in verhouding 12/38 en 25/35 mm
- Bouwen volgens de norm: voor luchtdichte aansluitingen conform DIN 4108-7, RE 2020 en SIA 180
- Uitstekende resultaten bij de test op schadelijke stoffen, getest conform ISO 16000
Applications
Voorgeplooide hoekaansluitband voor verkleving van
- Luchtdichte hoekverkleving van damprem- en luchtdichtingsfolies en houtvezelplaten (bijv. OSB)
- Winddichte hoekverkleving van onderdak- en wandbeschermingsfolies, bijv. aansluitingen op (dak-) raam buiten
- Luchtdichte aansluitingen op (dak-) ramen, luiken etc. binnen en buiten
Product details
Installation steps
Installation steps

1. Stick the first independent adhesive strip
When taping the joint with components such as a skylight in this case, guide the tape with a 25/35 mm split into the corner along its release film and gradually stick the first independent adhesive strip in place (in this case, onto the window profile).

2. Stick the second independent adhesive strip
Then remove the release film and gradually stick the tape to the second surface (in this case, onto the window reveal).

3. Rub the tape firmly to secure the adhesive bond
Rub the adhesive joint firmly. Ensure that there is sufficient resistance pressure. This step can be carried out more efficiently and in a manner that is kinder to your hands by using the pro clima PRESSFIX application tool.

4. Stick the corners
Adhesion in corner areas can be carried out particularly quickly and reliably by using the TESCON INCAV 3D shaped element for interior corners. Cut the independent adhesive strips to the required dimensions and stick into the window profile and onto the reveal.

5. Sealing with a narrow independent adhesive strip
The tape with a 12/38 mm split is ideal for sealing to components that will subsequently be covered only by a thin layer, e.g. with plasterboard.

6. Stick the wall corners
Guide the tape with a 25/35 mm split into the corner along its release film and gradually stick the first independent adhesive strip in place. Then gradually remove the release film and stick the tape to the second surface.

7. Facade windows - Stick the first side
Guide the adhesive tape into the corner along its release film and stick the first side of the tape in place.

8. Facade windows - Stick the second side
Then remove the remaining backing strips and stick the second side. Rub the tape firmly on both sides to secure the adhesive bond.

Tip – Switching from wide to narrow – 1
Tape arrangement when supplied: the wide adhesive surface is exposed and active, the narrow adhesive surface is protected by the release film.

Tip – Switching from wide to narrow – 2
This can be switched around if necessary (the wide adhesive surface is protected, the narrow adhesive surface is exposed). To do so, simply remove the release film …

Tip – Switching from wide to narrow – 3
… for one turn of the roll of tape!

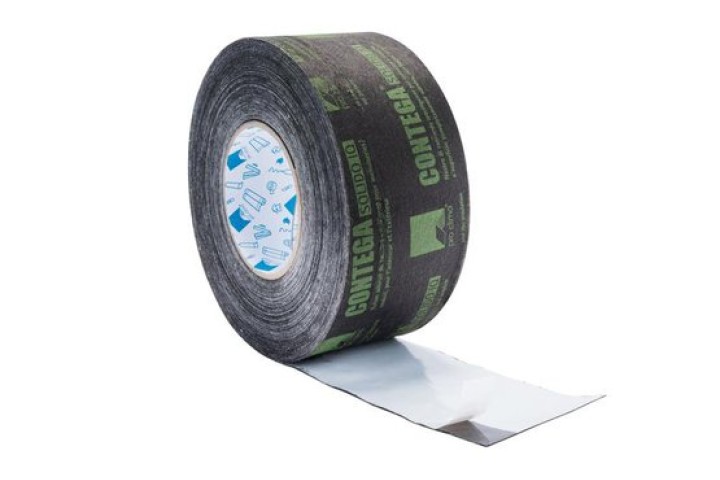
pro clima CONTEGA SOLIDO IQ
Intelligent tape for airtight and driving rainproof sealing around windows and doors, and for connections wi

pro clima TESCON PROFIL
Plooibare tape voor hoeken met apart aftrekbare aftrekfoliestroken, voor binnen en buiten

