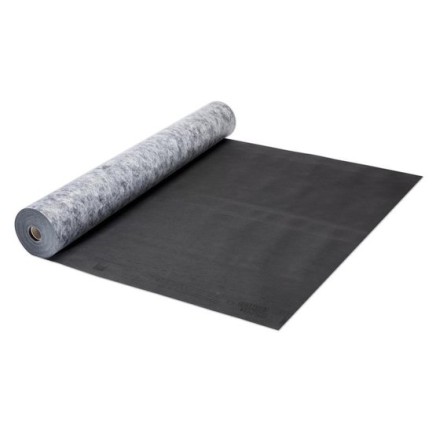
pro clima SOLITEX FRONTA QUATTRO
Facade membrane suitable for cladding with openings up to 35mm
Product benefits
The text on this page was automatically translated. Minor translation errors are possible. In case of doubt, the original versions (Dutch and French) are correct.
- Provides maximum protection against (driving) rain and wind
- Offers optimal protection against construction damage and mold - highly vapor-open TEEE membrane (without pores) actively transports moisture outwards
- Black membrane - not visible behind cladding with open joints
- Provides long-term security - very high aging resistance and thermal stability
Installer benefits
- Security during the construction phase - fully weather-resistant for 6 months
- System guarantee
Applications
Suitable as facade membrane behind open and closed facades (cladding with open joints up to 35 mm wide; cladding width = min. 3 × joint width). Applied on boarding, wood-based panels, and all insulation mats and boards.
Product details
Installation steps
Installation video
Installation steps

1. Install the membrane
Roll out the membrane and use galvanised staples that are at least 10 mm wide by 8 mm long to fasten the membrane in the overlap area at intervals of 10-15 cm in a manner that protects against moisture entry. Install the membrane leaving an additional 4 cm overlap at adjacent building components so that a windtight bond can be applied here subsequently.

2. Apply double-sided adhesive tape
Clean the subsurface (dry and free of dust, silicone and grease), stick DUPLEX double-sided adhesive tape to the lower third of the subsequent overlap in a manner that protects against moisture. Rub the tape firmly using the pro clima PRESSFIX to secure the adhesive bond. Ensure that there is sufficient resistance pressure.

3. Overlap the membranes
Overlap the membranes by approx. 10 cm so that they are watertight. The printed markings on the membrane serve as a guide here.

4. Taping over the overlaps
Gradually remove the release film from DUPLEX and stick the overlapping membrane, ensuring that there are no folds or tension. Rub the tape firmly using the pro clima PRESSFIX to secure the adhesive bond. Ensure that there is sufficient resistance pressure.

5a. Alternatively: Taping over the overlaps with TESCON INVIS
Tape TESCON INVIS system adhesive tape centrally to the overlap and stick it down bit by bit so that it is load and wrinkle free.
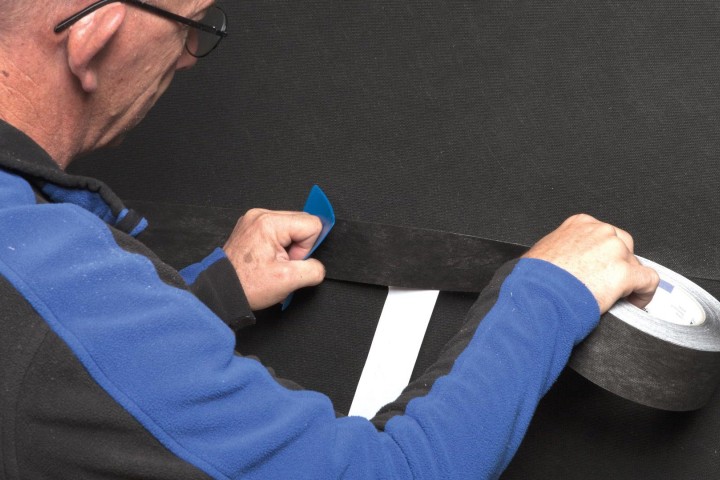
5b. Alternatively: Taping over the overlaps with TESCON INVIS
Rub the tape firmly using the pro clima PRESSFIX to secure the adhesive bond.
Ensure that there is sufficient resistance pressure.

6a. Sticking to rough or mineral surfaces (e.g. floorboard)
Clean the surface. Apply a bead of ORCON F adhesive sealant – at least 5 mm thick (more in the case of very rough surfaces).

6b. Sticking to rough or mineral surfaces (e.g. floorboard)
Apply the membrane, leaving slack to allow for expansion, and do not press the adhesive completely flat to allow for relative motion between components.

7. Alternatively: Sticking to rough or mineral surfaces (e.g. floorboard)
Stick line of adhesive to the subsurface, remove release film and stick the membrane in place, leaving slack to allow for expansion.

8a. Sticking to windows
Install membranes continuously over window openings and attach them all around the window using a stapler.
Then cut open the opening using a utility knife.
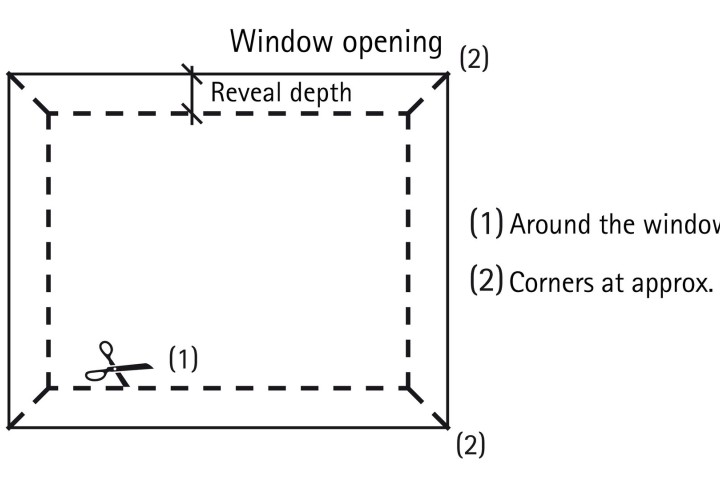
8b. Sticking to windows
In the case of recessed windows, cut into the membrane as shown in the sketch and guide into the reveal as far as the window frame.

9. Sticking to windows
Tape the membrane to the window frame using TESCON PROFECT to ensure a windtight seal. Thanks to the split release paper it is possible to stick the tape first to the membrane and then, subsequently, to the window. Alternatively use TESCON VANA or TESCON INVIS.

10. Sticking to cables and pipes
Place a KAFLEX or ROFLEX sealing grommet over the cable or pipe and stick it to the membrane.
KAFLEX mono/duo black and ROFLEX 20 black are well-suited for open-jointed cladding due to their discreet colour.
Alternative method: use blue grommets and tape over them with TESCON INVIS.
Stick pipe grommets to the membrane using TESCON INVIS.

11. Seal angular penetrations
Slide the TESCON PROFECT pre-folded corner sealing tape into the corner on the release film and stick the first independent adhesive strip. Then remove the remaining release strips and stick the second side. Alternatively, this transition can be sealed using the black TESCON INVIS adhesive tape.

12. Installation of decking
Horizontal or vertical installation of decking –
SOLITEX FRONTA WA: Only for closed decking
SOLITEX FRONTA QUATTRO: For open cladding with gap widths up to max. 35 mm
SOLITEX FRONTA QUATTRO FB: Flame-resistant
SOLITEX FRONTA PENTA: For open cladding with gap widths up to max. 50 mm
General conditions
SOLITEX FRONTA QUATTRO membranes should be installed with the black side facing outwards. The membranes are to be installed horizontally in a taut manner with no sagging.
When the product is used behind open-jointed cladding, the gap may be a maximum of 35 mm. The width of cladding pieces must be at least three times the gap width. The distance between the open-jointed cladding and the membrane must be at least 20 mm.
Fasteners may not be applied in areas where water run-off is collected.
Additional measures (e.g. covering with tarpaulins) should be taken during the construction phase in the case of buildings that are lived in or buildings that are to be given particular protection. Covering with tarpaulins should also be considered if construction work is to be interrupted for a longer period.
| Reference Number | Attributes |
|---|---|
| 12933 | Dimensions: 1.50m x 50m, Version: standard |
| 13729 | Dimensions: 3.00m x 50m, Version: standard |
| 15042 | Dimensions: 1.50m x 50m, Version: connect |
Celit 4D
Premium underroof and wall protection made from sustainable wood fiber
Related products
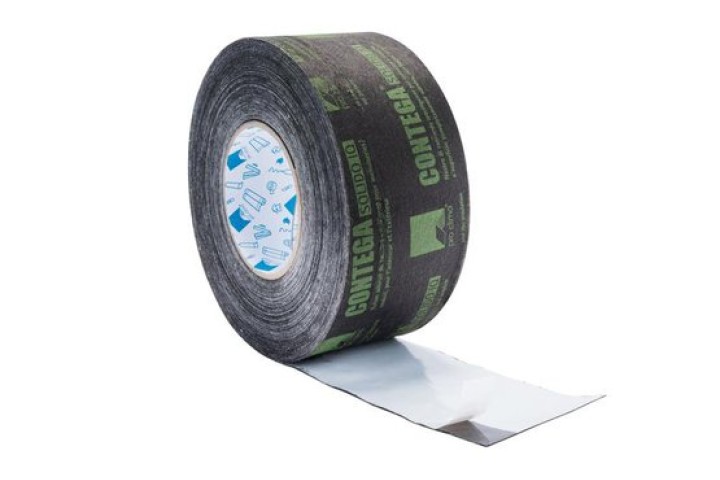
pro clima CONTEGA SOLIDO IQ
Intelligent tape for airtight and driving rainproof sealing around windows and doors, and for connections wi

pro clima ORCON F
All-round connection glue for indoor and outdoor use
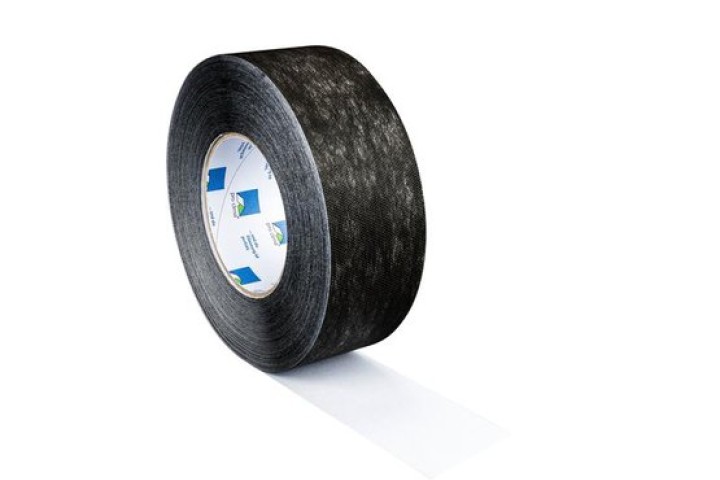
pro clima TESCON INVIS
All-round tape with fleece carrier, for indoor and outdoor use, black
