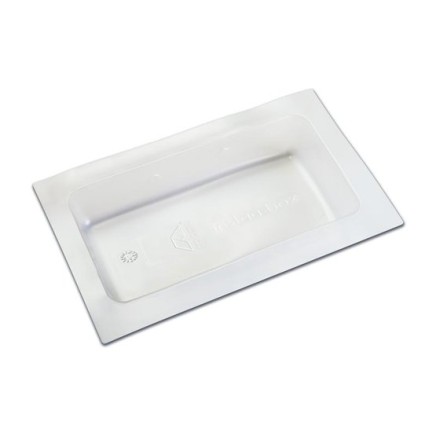
pro clima INSTAABOX
Installatiebox voor o.a. contactdozen
Product benefits
- Voor kabels en kabelbuizen met een maximale diameter van 20 mm
- Bouwen volgens de norm: voor luchtdichte aansluitingen conform DIN 4108-7, RE 2020 en SIA 180
- Biedt ruimte aan maximaal drie inbouwdozen
- Kan onbeperkt worden uitgebreid: eenvoudig opensnijden en aan elkaar kleven met bijv. TESCON VANA
- Uitstekende resultaten bij de test op schadelijke stoffen, getest conform ISO 16000
Applications
Bij constructies zonder technische spouw kan de INSTAABOX ruimte bieden voor contactdozen e.d. Daartoe wordt deze op de aanwezige damprem- en luchtdichtingslaag aangebracht en luchtdicht aangesloten. Bij gebruik van traditionele contactdozen wordt voldaan aan de vereisten van DIN 4108-7, RE 2020 en SIA 180 met betrekking tot de luchtdichtheid.
De INSTAABOX kan zowel bij binnen- als buitenwanden worden gebruikt.
Product details
Installation steps
Installation steps

1. Create the cut-out
Mark out the position of the INSTAABOX and create the cut-out in the airtightness layer.
Dimensions 270 mm x 140 mm.
It can be installed either vertically or horizontally.

2. Pre-form the penetrations
Punch holes at the perforated punching points on the INSTAABOX using a conical object (e.g. a nail or cartridge nozzle).
Create a hole that is about 60% of the cable diameter.

3. Feed the cables through
Support the INSTAABOX with your hand at the penetration point and pull cables with a diameter of up to 20 mm through the previously created holes.
The plastic will create an airtight seal.
Ensure that cables sit freely and are not subject to tension in the INSTAABOX.

4. Put the INSTAABOX in place
Align the box with pulled-through cables on the airtightness layer.

5. Create an airtight bond
Create an airtight bond around the perimeter of the box using a pro clima adhesive tape (e.g. TESCON VANA) and rub firmly to secure the adhesive bond (PRESSFIX).
Ensure that there is sufficient resistance pressure.

6. Can be expanded flexibly
The installed INSTAABOX has enough space for up to three sockets or light switches.
Combine two or more boxes if greater lengths or widths are required.
Related products

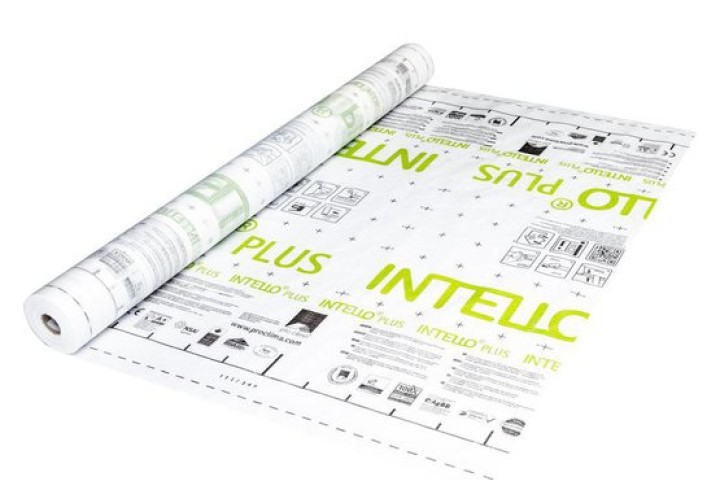
pro clima INTELLO PLUS
Strong, hydrosafe and airtight vapor barrier for all fibrous insulation materials

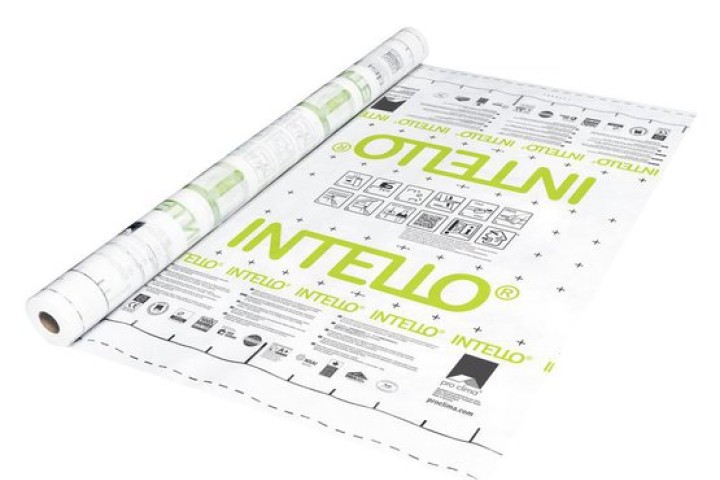
pro clima INTELLO
Moisture-variable and airtight vapor barrier for all fibrous insulation materials in mat and board form

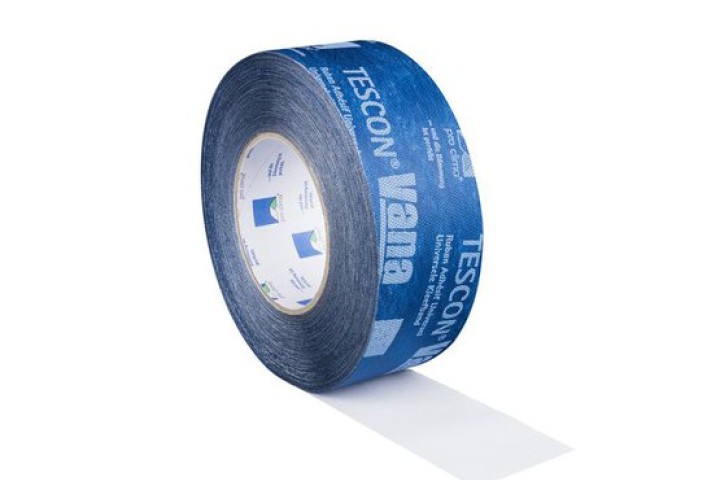
pro clima TESCON VANA
All-round tape with fleece carrier, for indoor and outdoor use

pro clima INTELLO X
Hydrosafe, weather- and UV-resistant vapor barrier for fibrous insulation materials in mat and board form
