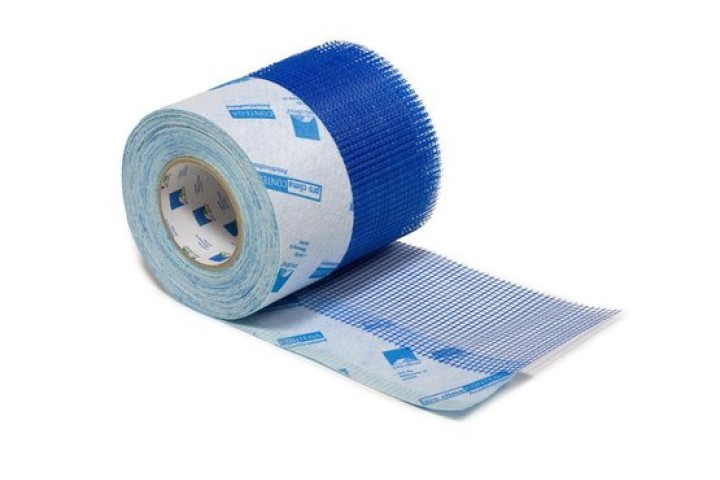
pro clima INTELLO X
Hydrosafe, weather- and UV-resistant vapor barrier for fibrous insulation materials in mat and board form
Product benefits
The text on this page was automatically translated. Minor translation errors are possible. In case of doubt, the original versions (Dutch and French) are correct.
- Airtight
- Temporary protection against weather influences during the construction phase
- Long-term protection - performance officially tested and confirmed for a minimum of 50 years (ETA-18/1146)
- Optimal protection against construction damage and mold - moisture-controlled function promotes maximum drying of the construction
- For all fibrous insulation materials in mat and board form - mineral and natural
Installer benefits
- Easy to process
- Multi-purpose - one product for use in exterior and interior renovations
- Protects the construction during the building phase against weather influences from a roof pitch of 10°
- Lasting performance - even in unfinished attics and permanent exposure to diffuse UV light
- System warranty
Applications
The vapor barrier and airtightness membrane INTELLO X can be used as the inner boundary of thermal insulation:
- in roof, ceiling, floor, and wall (also for insulation of exterior walls from the inside)
- when using fibrous insulation in mat and board form
- in residential and commercial buildings of indoor climate class I - III
- in all rooms, including kitchens and bathrooms
- in diffusion-open constructions on the outside
- in diffusion-tight constructions on the outside (e.g., flat roofs…) (according to the pre-made calculation and advice)
- also on a winter construction site
- with permanent exposure to diffuse UV light (e.g., in unfinished attic spaces)
- in exterior renovations
- in sarking roofs
- on boarding and rafters
- as temporary protection during the construction phase
Product details
Installation steps
Installation video: Insulation between rafters
Application for insulation between rafters

1. Install membranes
Roll out the membrane and fasten it using galvanised staples that are at least 10 mm wide by 8 mm long at intervals of 10-15 cm or, if blown-in insulation is to be installed, 5-10 cm. Install the membrane leaving an additional 4 cm overlap at adjacent building components so that an airtight bond can be applied here subsequently.

2. Fasten to stud wall frame members
Fastening of membranes to metal frame members on stud wall and ceiling structures using pro clima DUPLEX.

3. Overlap the membranes
Allow for an overlap of approx. 10 cm between the membranes. The marking that is printed onto the membrane will serve as a guide here.

4. Clean the subsurface
Clean the subsurface (dry and free of dust, silicone and grease) before taping; carry out an adhesion test, if necessary.

5a. Tape the overlaps
Centre the TESCON VANA system adhesive tape on the overlap and gradually stick it in place, ensuring that there are no folds or tension.

5b. Rub the taped joint firmly
Rub the tape firmly using the pro clima PRESSFIX to secure the adhesive bond. Ensure that there is sufficient resistance pressure.

6. Sealing to smooth, non-mineral subsurfaces
… (e.g. knee walls made of wood-based panels) should also be implemented using TESCON VANA system adhesive tape.
Centre the tape and gradually stick it in place, ensuring that there are no folds or tension. Rub the tape firmly using the pro clima PRESSFIX to secure the adhesive bond.

7. Sealing to rough or mineral subsurfaces
Clean the subsurface. Apply a line of ORCON F adhesive sealant of at least d = 5 mm, or more in the case of very rough subsurfaces if necessary. Place INTELLO X onto the adhesive bed, leaving slack to allow for expansion. Do not press the adhesive completely flat.

8a. Alternative: Sealing to mineral subsurfaces
Position ORCON MULTIBOND on the subsurface, roll it out and gradually stick it to the subsurface. Gradually remove the release film.

8b. Stick the membrane / Rub the joint firmly
Apply the membrane onto the adhesive strip, leaving slack for expansion so as to allow for relative motion between components. Rub firmly to secure the adhesive bond using the pro clima PRESSFIX. Ensure that there is sufficient resistance pressure.

9. Sealing to unplastered subsurfaces
Guide the vapour control membrane into position. Leave slack for expansion so as to allow for relative motion between components.
Remove all release films from CONTEGA SOLIDO SL or CONTEGA SOLIDO IQ. Centre the tape and gradually stick it in place. Rub the tape firmly using the pro clima PRESSFIX to secure the adhesive bond.
To achieve airtightness, plaster over the masonry and sealing tape.

10a. Sealing around cables
Place a KAFLEX cable gasket over the cable and stick to the membrane. The cable gaskets are self-adhesive.
The range includes:
- KAFLEX mono (see picture)
- KAFLEX duo - for 2 cables
- KAFLEX multi - for up to 16 cables
- KAFLEX post - for retrofit installation

10b. Sealing around pipes
Place a ROFLEX pipe gasket over the pipe and stick to the membrane using TESCON VANA.
The range includes:
- ROFLEX 20 - for pipes, for Ø 15-30 mm
- ROFLEX 20 multi - for up to 9 conduits
- ROFLEX 30 - 300 - for Ø 30-320 mm

11. Corner sealing
Guide TESCON PROFECT pre-folded corner sealing tape into the corner while the release film is still in place and stick the first independent adhesive strip. Then remove the release film and stick the second independent adhesive strip.

12. Skylights: Cut the membrane
Cut the membrane in such a way that it can be guided into the reveals around the skylight.

13. Stick the membrane around the skylight
Guide TESCON PROFECT pre-folded corner sealing tape into the opening for the skylight while the release film is still in place and then stick the first independent adhesive strip. The pro clima PRESSFIX application tool is a helpful aid when carrying out this step.

14. Stick to the membrane
Then remove the release film and stick the second independent adhesive strip to the INTELLO X membrane. Rub firmly using the pro clima PRESSFIX application tool to secure the adhesive bond.

15. Apply tape in an airtight manner around the entire reveal
Install membrane pieces to the top and bottom reveals and stick these in a step-by-step manner using TESCON VANA system adhesive tape, ensuring that there are no folds or tension (PRESSFIX).
16. Laths
Apply laths (e ≤ 50 cm) to support the weight of the insulation material.

17. Quality assurance
It is recommended that airtightness should be checked using a blower door test.
Installation video: Exterior roof insulation
Application for external roof insulation

1. Install the membrane
Roll out the membrane and fasten it using galvanised staples that are at least 10 mm wide by 8 mm long at intervals of 10-15 cm in the overlap area in a manner that protects against moisture entry. If exposure to the elements is planned, staples installed in open areas of the membrane should be taped over.
Install the membrane leaving an additional 4 cm overlap at adjacent building components so that an airtight bond can be applied here subsequently.

2. Overlap the membranes
Allow for an overlap of approx. 10 cm between the membranes and ensure that the upper membrane lies over the lower membrane in the finished overlap to create a waterproof arrangement. The marking that is printed onto the membrane will serve as a guide here.

3. Tape the overlap
Clean the subsurface (dry and free of dust, silicone and grease) before taping; carry out an adhesion test, if necessary. Centre the TESCON VANA system adhesive tape on the overlap and gradually stick it in place, ensuring that there are no folds or tension. Rub firmly using the pro clima PRESSFIX application tool to secure the adhesive bond.

4. Joint at bargeboard
Interruption of the wood sheathing at the top of the wall cap, which has a layer of mortar applied to it. A roof lath is adhesively bonded to the wall cap with ORCON F along its entire length. Sealing of the membrane to the roof lath using ORCON F.

5. Joint at bargeboard, alternative 1
Butt joint between wood sheathing and last rafter. The membrane passes through the butt joint and onto the inside of the wood sheathing and is stuck to the top of the wall cap using ORCON F.

Example: Joint at wall cap
Sealing to the continuous smooth plaster finish on the wall cap can be carried out using the ORCON MULTIBOND adhesive sealant (applied from a roll) or in liquid form using ORCON F (or, alternatively, ORCON CLASSIC). Any loose material on the subsurface should be removed beforehand.

6. Joint at bargeboard, alternative 2
In the case of a plastered gable wall, bond the pro clima membrane to the plaster using ORCON F.

7. Joint at bargeboard, alternative 3
If there is no layer of plaster, affix CONTEGA PV to the wall using adhesive sealant and bond the membrane to the adhesive strip. At least 1 cm width of the fleece must be embedded into the middle of the layer of plaster.

8. Eave joint with exposed rafters without rafter tails
Stick the membrane to the wallplate in an airtight manner using ORCON F. Seal the joint between the wallplate and the ring beam in an airtight manner using a strip of vapour control membrane (e.g. INTELLO conneX) and ORCON F.

9. Eave joint with exposed rafters with rafter tails
Install an upright positioning board made of wood-based panel on the inside between the rafters and bond it to the ring beam and the rafters using TESCON PROFECT. If necessary, apply ORCON F underneath the tape in the case of rough concrete. Interrupt the sheathing above this positioning board and tape the membrane to this board.

10a. Eave joint with exposed rafters with rafter tails, alternative
Install a strip of vapour control membrane, e.g. INTELLO conneX, on the inside between the rafters and bond it to the ring beam and the rafters using TESCON PROFECT. If necessary, apply ORCON F underneath the tape in the case of rough concrete. Above the vapour control strip, create seals between the sheathing and both the rafters and the membrane using double strips of adhesive.

10b. Sheet joint in corners with support
The TESCON FIX mounting bracket strip is stuck to the subsurface using one of the two independent strips of adhesive tape that are fitted to it. The vapour control sheet is put in place and then stuck to the second independent strip of adhesive tape in an airtight manner (working from the inside). The (exterior) bracket strip provides resistance pressure when pressing with the PRESSFIX tool.
Airtight sealing to the upper side of the rafter is carried out simply by using a length of TESCON VANA.

11a. Sealing around cables
Place a KAFLEX cable grommet over the cable and stick to the membrane. The cable grommets are self-adhesive.
The range includes:
- KAFLEX mono (see photo)
- KAFLEX duo - for 2 cables
- KAFLEX multi - for up to 16 cables
- KAFLEX post - for retrofit installation

11b. Sealing around pipes
Place a ROFLEX pipe grommet over the pipe and stick to the membrane using TESCON VANA.
The range includes:
- ROFLEX 20 - e.g. for pipes, for Ø 15-30 mm
- ROFLEX 20 multi - for up to 9 conduits
- ROFLEX 30 - 300 - for Ø 30-320 mm

12. Quality assurance
If all joints have been implemented in an airtight manner, the thermal insulation structure will be reliable and permanent. Testing of the airtightness with a BlowerDoor test is recommended for quality assurance purposes.
Roof refurbishment from the outside

1. Fill the space between rafters
Completely fill the existing space between the rafters with insulation material. If the existing insulation can be easily compressed, select the next highest thickness for the new insulation layer and use this to compress the existing insulation. Existing and new insulation should only use rock or mineral wool.

2. Roll out and staple the membrane
Install INTELLO X flat over the rafters and insulation, and fasten it using galvanised staples that are at least 10 mm wide by 8 mm long in the overlap area in a manner that protects against moisture entry. If exposure to the elements is planned, staples installed in open areas of the membrane, at intervals of 10-15 cm along the rafters, should be taped over.
Install the membrane leaving an additional 4 cm overlap at adjacent building components so that an airtight bond can be applied here subsequently.

3. Tape the overlap
Clean the subsurface (dry and free of dust, silicone and grease) and carry out an adhesion test, if necessary. Centre the TESCON VANA system adhesive tape on the overlap and gradually stick it in place, ensuring that there are no folds or tension. Rub firmly using the pro clima PRESSFIX application tool to secure the adhesive bond. Ensure that there is sufficient resistance pressure.

4. Joint at bargeboard
Firstly, apply a smooth plaster finish to rough wall caps. Clean the subsurface. Apply a line of ORCON F adhesive sealant of at least d = 5 mm (more in the case of rough subsurfaces, if necessary).
Apply the membrane, leaving slack to allow for expansion, and do not press the adhesive completely flat so as to allow for relative motion between components. Alternatively, ORCON MULTIBOND can be used for sealing.

5a. Joints at rafters
Cut the membrane as necessary and guide it around the rafters.

5b. Joints at rafters
Bond the membrane to the top and sides of the rafters and to the ring beam using ORCON F.

5c. Joints at rafters
Stick the membrane cut and joint underneath the rafters using TESCON VANA system adhesive tape. Apply a line of ORCON F adhesive between the rafters and TESCON VANA.

5d. Joints at rafters
Tape the corners using TESCON VANA. If necessary, pre-treat reconditioned wood or knee walls using TESCON PRIMER RP or TESCON SPRIMER.

6. Joint at wall cap
Firstly, apply a smooth plaster finish to rough wall caps. Clean the subsurface. Apply a line of ORCON F adhesive sealant of at least d = 5 mm to the wall cap (more in the case of rough subsurfaces, if necessary). Apply the membrane, leaving slack to allow for expansion, and do not press the adhesive completely flat so as to allow for relative motion between components.

7. Insulate the fascia surface
Fill the space between the rafters with insulation material on the fascia surface.

8. Sealing around cables
Place a KAFLEX cable grommet over the cable and stick to the membrane. The cable grommets are self-adhesive.
The range includes:
- KAFLEX mono (see photo)
- KAFLEX duo - for 2 cables
- KAFLEX multi - up to 16 cables
- KAFLEX post - for retrofit installation

9. Sealing around pipes
Place a ROFLEX pipe grommet over the pipe and stick to the membrane using TESCON VANA.
The range includes:
- ROFLEX 20 - e.g. for pipes, for Ø 15-30 mm
- ROFLEX 20 multi - ... up to 9 conduits
- ROFLEX 30 - 300 - for Ø 30-320 mm

10. Insulation cover
In the case of refurbishment from the outside and installation between two layers of insulation, the choice of insulation materials for the two layers is limited to mineral or rock wool. Please contact Technical Support at pro clima in Germany for assistance with calculating the possible insulation thicknesses.

11. Install a roofing underlay membrane
The final step is to install a roofing underlay (sd value ≤ 0.10 m), e.g. pro clima SOLITEX MENTO 3000.
General conditions
pro clima INTELLO X connect is to be installed with the printed side facing the installation technician. It may only be installed on top of sheathing.
Airtight seals can only be achieved on vapour control (alternate terms: vapour check or retarder) membranes that have been fitted with no folds or creases. Ventilate regularly and systematically to prevent build-up of excessive humidity (e.g. during the construction phase). Occasional, intermittent ventilation is not sufficient to remove large quantities of moisture due to construction work from a building; use a dryer if necessary.
To avoid condensation formation, the thermal insulation should be installed immediately after the airtight installation of INTELLO X connect. This applies particularly to work carried out in winter.
Fastening
Overlap the membranes by at least 10 cm. Use fastening staples that are at least 10 mm wide by 8 mm long to attach the membranes. The membranes can only be fastened in a protected manner in the overlap area. The maximum distance between fasteners is 10 to 15 cm. Fasteners may not be applied in areas where water runs off in a collected manner (e.g. in roof valleys).
If exposure to the elements is planned, it is recommended to provide additional mechanical support for the membranes (e.g. with counter battens). TESCON NAIDECK mono adheres to counter battens, seals nail holes and improves the level of rain protection.
| Reference Number | Attributes |
|---|---|
| 1AR03027 | Dimensions: 1.50m x 50m, Version: connect |
| 1AR03049 | Dimensions: 1.50m x 50m, Version: standard |
| 1AR03858 | Dimensions: 3.00m x 50m, Version: standard |
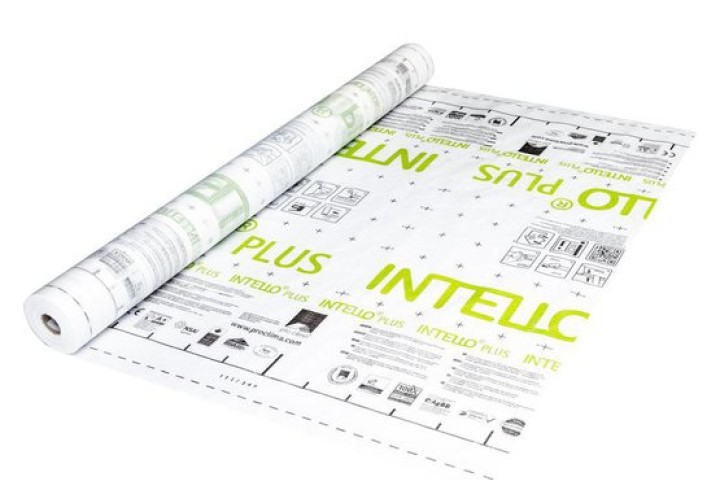
pro clima INTELLO PLUS
Strong, hydrosafe and airtight vapor barrier for all fibrous insulation materials
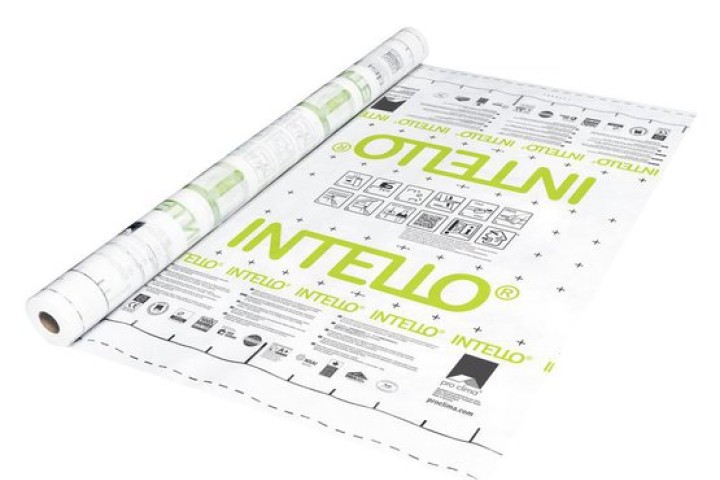
pro clima INTELLO
Moisture-variable and airtight vapor barrier for all fibrous insulation materials in mat and board form

pro clima INTELLO X PLUS
Strong, hydrosafe, weather- and UV-resistant vapor barrier for all fibrous insulation materials
Related products
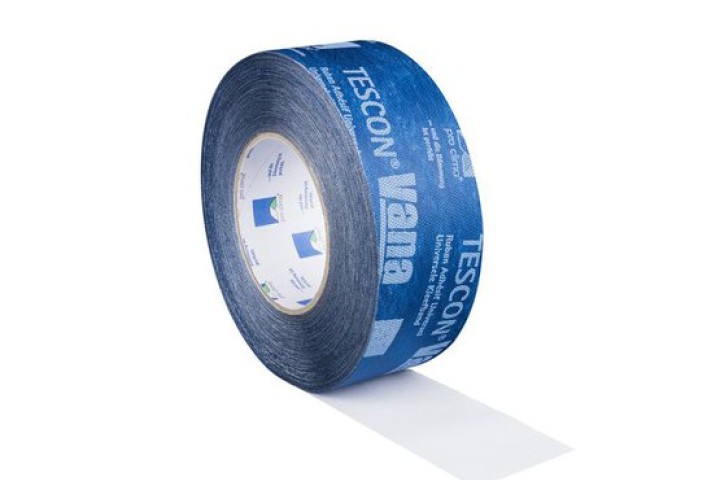
pro clima TESCON VANA
All-round tape with fleece carrier, for indoor and outdoor use
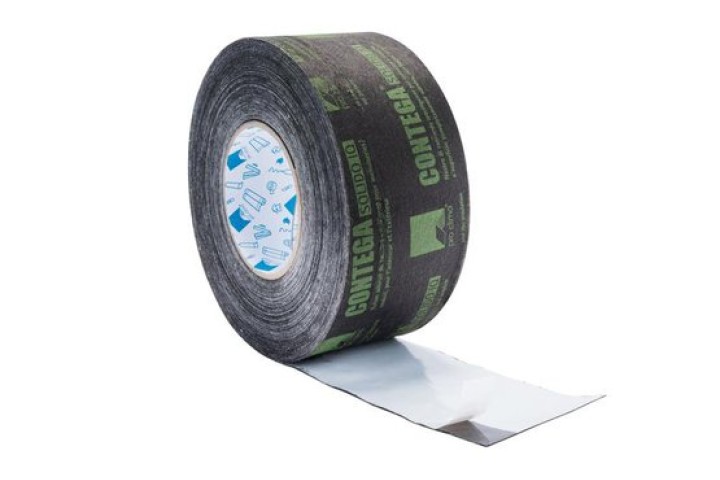
pro clima CONTEGA SOLIDO IQ
Intelligent tape for airtight and driving rainproof sealing around windows and doors, and for connections wi

pro clima ORCON F
All-round connection glue for indoor and outdoor use


