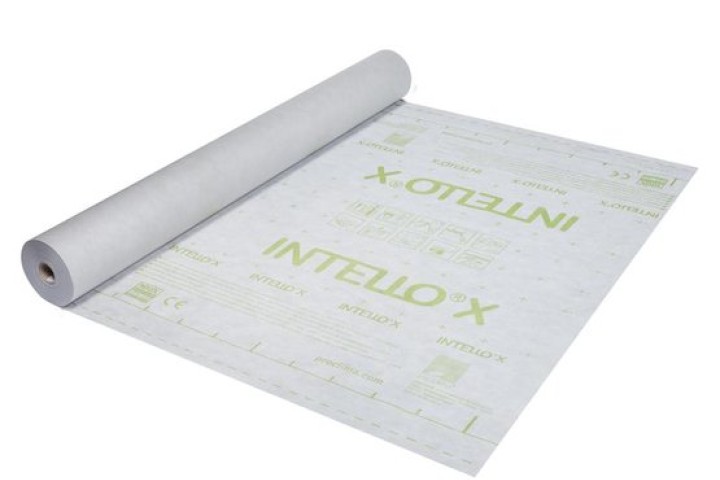
pro clima INTELLO PLUS
Strong, hydrosafe and airtight vapor barrier for all fibrous insulation materials
Product benefits
The text on this page was automatically translated. Minor translation errors are possible. In case of doubt, the original versions (Dutch and French) are correct.
- Airtight
- At least 50 years lifespan and performance, officially documented in ETA-18/1146
- Unique! INTELLO PLUS and INTELLO achieved respectively 0.00m³/hm² and 0.01m³/hm² air exchanges in the PassiveHouse certificate, making them perfectly airtight
- Optimal protection against construction damage and mold - moisture-controlled function promotes maximum drying of the construction
- For all fibrous insulation materials - mineral and natural
- Environmentally conscious - fleece made from 50% recycled polypropylene
Installer benefits
- Strong, even with blow-in insulation
- Placement markings on the membrane
- System warranty
Applications
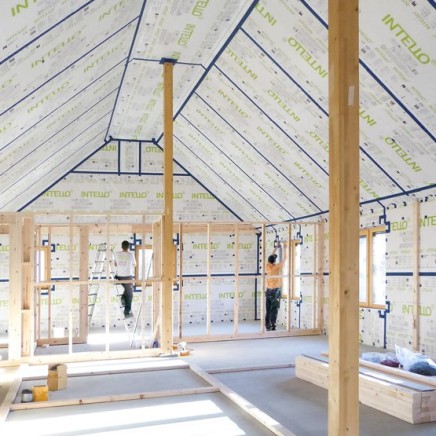
The vapor barrier and airtightness membrane INTELLO PLUS can be used as the inner boundary of thermal insulation:
- in roof, ceiling, floor, and wall (also for insulation of exterior walls from the inside)
- when using fibrous insulation: all mineral and natural insulation and blow-in insulation
- in residential and commercial buildings of indoor climate class I - III
- in all rooms, including kitchens and bathrooms
- in diffusion-open constructions on the outside
- in diffusion-tight constructions on the outside (e.g., flat roofs…) (according to the pre-made calculation and advice)
- also on a winter construction site
Product details
Installation steps
Installation steps

1. Install the membranes
Roll out the membrane and fasten it using galvanised staples that are at least 10 mm wide by 8 mm long at intervals of 10-15 cm or, if blown-in insulation is to be installed, 5-10 cm. Install the membrane leaving an additional 4 cm overlap at adjacent building structures so that an airtight bond can be applied here subsequently.

2. Fasten to stud wall frame members
Fastening of membranes to metal frame members on stud wall and ceiling structures using pro clima DUPLEX. Stick the membrane, ensuring that there are no folds or tension. Rub using the PRESSFIX application tool to secure.

3. Overlap the membranes
Allow for an overlap of approx. 10 cm between the membranes. The marking that is printed onto the membrane will serve as a guide here.

4. Clean the subsurface
Clean the subsurface (dry and free of dust, silicone and grease) before taping; carry out an adhesion test, if necessary.

5a. Tape the overlaps
Centre the TESCON VANA system adhesive tape on the overlap and gradually stick it in place, ensuring that there are no folds or tension.

5b. Rub the adhesive joint firmly
Rub the tape firmly using the PRESSFIX to secure the adhesive bond. Ensure that there is sufficient resistance pressure.

6. Sealing to smooth, non-mineral subsurfaces …
… (e.g. knee walls made of wood-based panels) should also be implemented using TESCON VANA system adhesive tape. Centre the tape and gradually stick it in place, ensuring that there are no folds or tension. Rub the tape firmly using the PRESSFIX to secure the adhesive bond.

7. Sealing to rough or mineral subsurfaces
Clean the subsurface. Apply a line of ORCON F adhesive sealant of at least d = 5 mm, or more in the case of very rough subsurfaces if necessary. Place INTELLO onto the adhesive bed, leaving slack to allow for expansion. Do not press the adhesive completely flat.

8a. Alternative: Sealing to mineral subsurfaces
Position ORCON MULTIBOND on the subsurface, roll it out and gradually stick it to the subsurface. Gradually remove the release film.

8b. Sticking the membrane / Rubbing the joint firmly
Apply the membrane onto the adhesive strip, leaving slack for expansion so as to allow for relative motion between components. Rub firmly to secure the adhesive bond using the PRESSFIX. Ensure that there is sufficient resistance pressure.

9. Sealing to unplastered subsurfaces
Guide the vapour control membrane into position. Leave slack for expansion so as to allow for relative motion between components.
Remove all release films from CONTEGA SOLIDO SL or CONTEGA SOLIDO IQ.
Centre the tape and gradually stick it in place. Rub the tape firmly using the PRESSFIX to secure the adhesive bond.
To achieve airtightness, plaster over the masonry and sealing tape.

10. Alternative: Sealing to unplastered subsurfaces
Stick the CONTEGA PV plaster-sealing tape onto INTELLO using self-adhesive strips. Ensure the tape remains in place by using ORCON F at discrete points. First plaster behind the tape, then apply the tape to the wet plasterwork and plaster over it fully.

11a. Sealing to roughly sawn timber
Clean the subsurface. Apply a line of ORCON F adhesive sealant of at least d = 5 mm, or more in the case of very rough subsurfaces if necessary. As an alternative, a roll of ORCON MULTIBOND adhesive sealant can be used.

11b. Sealing to roughly sawn timber
Place INTELLO onto the adhesive bed, leaving slack to allow for expansion. Do not press the adhesive completely flat.

12a. Sealing to plastered chimney (insulated or double-shelled)
Seal INTELLO using ORCON F as shown in Figure 7.

12b. Sealing to plastered chimney (insulated or double-shelled)
Then cut into short pieces of TESCON VANA as far as the centre, create corner shapes and then stick in place.

13. Sealing around pipes and cables
Place a KAFLEX or ROFLEX sealing grommet over the cable or pipe and stick to INTELLO. The cable grommets are self-adhesive. Tape the pipe grommets to the membrane using TESCON VANA.

14. Corner sealing
Guide TESCON PROFECT pre-folded corner sealing tape into the corner while the release film is still in place and stick the first independent adhesive strip. Then remove the release film and stick the second independent adhesive strip.

15. Battens, interior cladding
Install battens (e ≤ 50 cm) to bear the weight of the insulation, and install interior cladding to provide protection against UV light and other damage.

16. Quality assurance
It is recommended that airtightness should be checked using a blower door test.
General conditions
Where possible, INTELLO PLUS should be installed in such a way that adhesion can be carried out using single-sided adhesive tape on the smooth (printed) side of the sheeting. It should be installed taut and without slack either in parallel with or perpendicular to the supporting structure, e.g. the rafters. In the case of horizontal installation (perpendicular to the supporting structure), the separation distance of the supporting structure is limited to a maximum of 100 cm. After installation, perpendicular battens on the inside at a separation distance of a maximum of 50 cm must be fitted to carry the weight of the insulation material.
If regular tensile loads on adhesive tape bonds are to be expected – for example, due to the weight of the insulation material – when using mat or panel-shaped insulation materials, an additional supporting batten should be fitted over the overlap sealing. When attaching the membranes in the case of mat or panel-shaped insulation materials, a maximum separation distance of 10 to 15 cm applies for the fastening staples, which must be at least 10 mm wide by 8 mm long. The overlaps between the membrane strips must be approx. 8 to 10 cm.
Airtight seals can only be achieved on vapour control membranes that have been installed without folds or creases. Ventilate regularly to prevent excessive humidity (e.g. during the construction phase). Occasional, intermittent ventilation is not sufficient to remove large quantities of moisture due to construction work from a building; use a dryer if necessary.
To prevent condensation formation, INTELLO PLUS should be sealed and taped in an airtight manner immediately after the installation of mat or panel-shaped thermal insulation materials. This particularly applies when working in winter.
Additional instructions for blown-in insulation materials
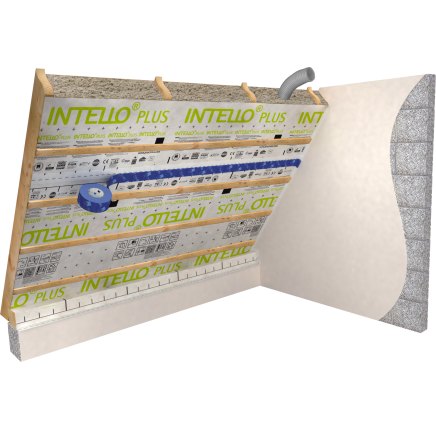
INTELLO PLUS can also be used as a boundary layer for blown-in insulation materials of all types. A reinforcement structure ensures that there is little expansion during the blowing-in process. Installation in parallel with the supporting structure has the advantage that the joint will be on a solid base and is protected by this base.
The separation distance between the staples used to fasten the membrane strips must be a maximum of 5 to 10 cm. Staples should be oriented parallel with construction timber so that membranes do not tear at the staples when insulation material is being blown in. If installation is carried out perpendicular to the supporting structure, a supporting batten should be fitted directly over the membrane strip overlap with its airtight sealing in order to avoid tensile loading on the adhesive bond.
When working in cold outdoor climates, the blown-in insulation material should be inserted immediately after installation of INTELLO PLUS. This will protect the membrane against condensation formation.
| Reference Number | Attributes |
|---|---|
| 10076 | Dimensions: 3.00m x 50m, Version: standard |
| 10092 | Dimensions: 1.50m x 50m, Version: standard |
| 10093 | Dimensions: 1.50m x 20m, Version: standard |
| 12222 | Dimensions: 3.00m x 50m, Version: folded |

pro clima INTELLO
Moisture-variable and airtight vapor barrier for all fibrous insulation materials in mat and board form

pro clima INTELLO X
Hydrosafe, weather- and UV-resistant vapor barrier for fibrous insulation materials in mat and board form

pro clima INTELLO X PLUS
Strong, hydrosafe, weather- and UV-resistant vapor barrier for all fibrous insulation materials
Related products

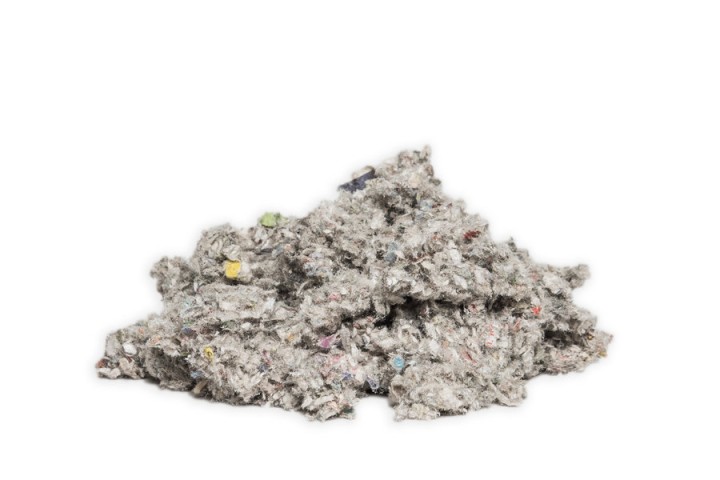
iQ3-cellulose insulation
Thermal and acoustic insulation made from sustainable cellulose fibers from recycled newspaper.

pro clima TESCON VANA
All-round tape with fleece carrier, for indoor and outdoor use

pro clima CONTEGA SOLIDO IQ
Intelligent tape for airtight and driving rainproof sealing around windows and doors, and for connections wi

pro clima ORCON F
All-round connection glue for indoor and outdoor use


